Intro
Measuring Water Temperature Inside a Pipe
Info
This small project is a test project to determine if it's viable to create a DIY thermostatic water valve controlled by a stepper motor.
In looking at the Moen U system, I decided to figure out it I could design a way to achieve the same goals by using ESPHome and some basic Aliexpress parts to achieve the same goal for a fraction of the price.
Ultimately, I don't think it will work, but currently, I've figured out how to measure the temperature of the liquid inside of a water pipe. The accuracy and speed of delivery are the two variables in question that will ultimately cause me to abandon creating an automated valve, but there are many uses for information about the temperature of the water in specific places throughout the house.
Hardware
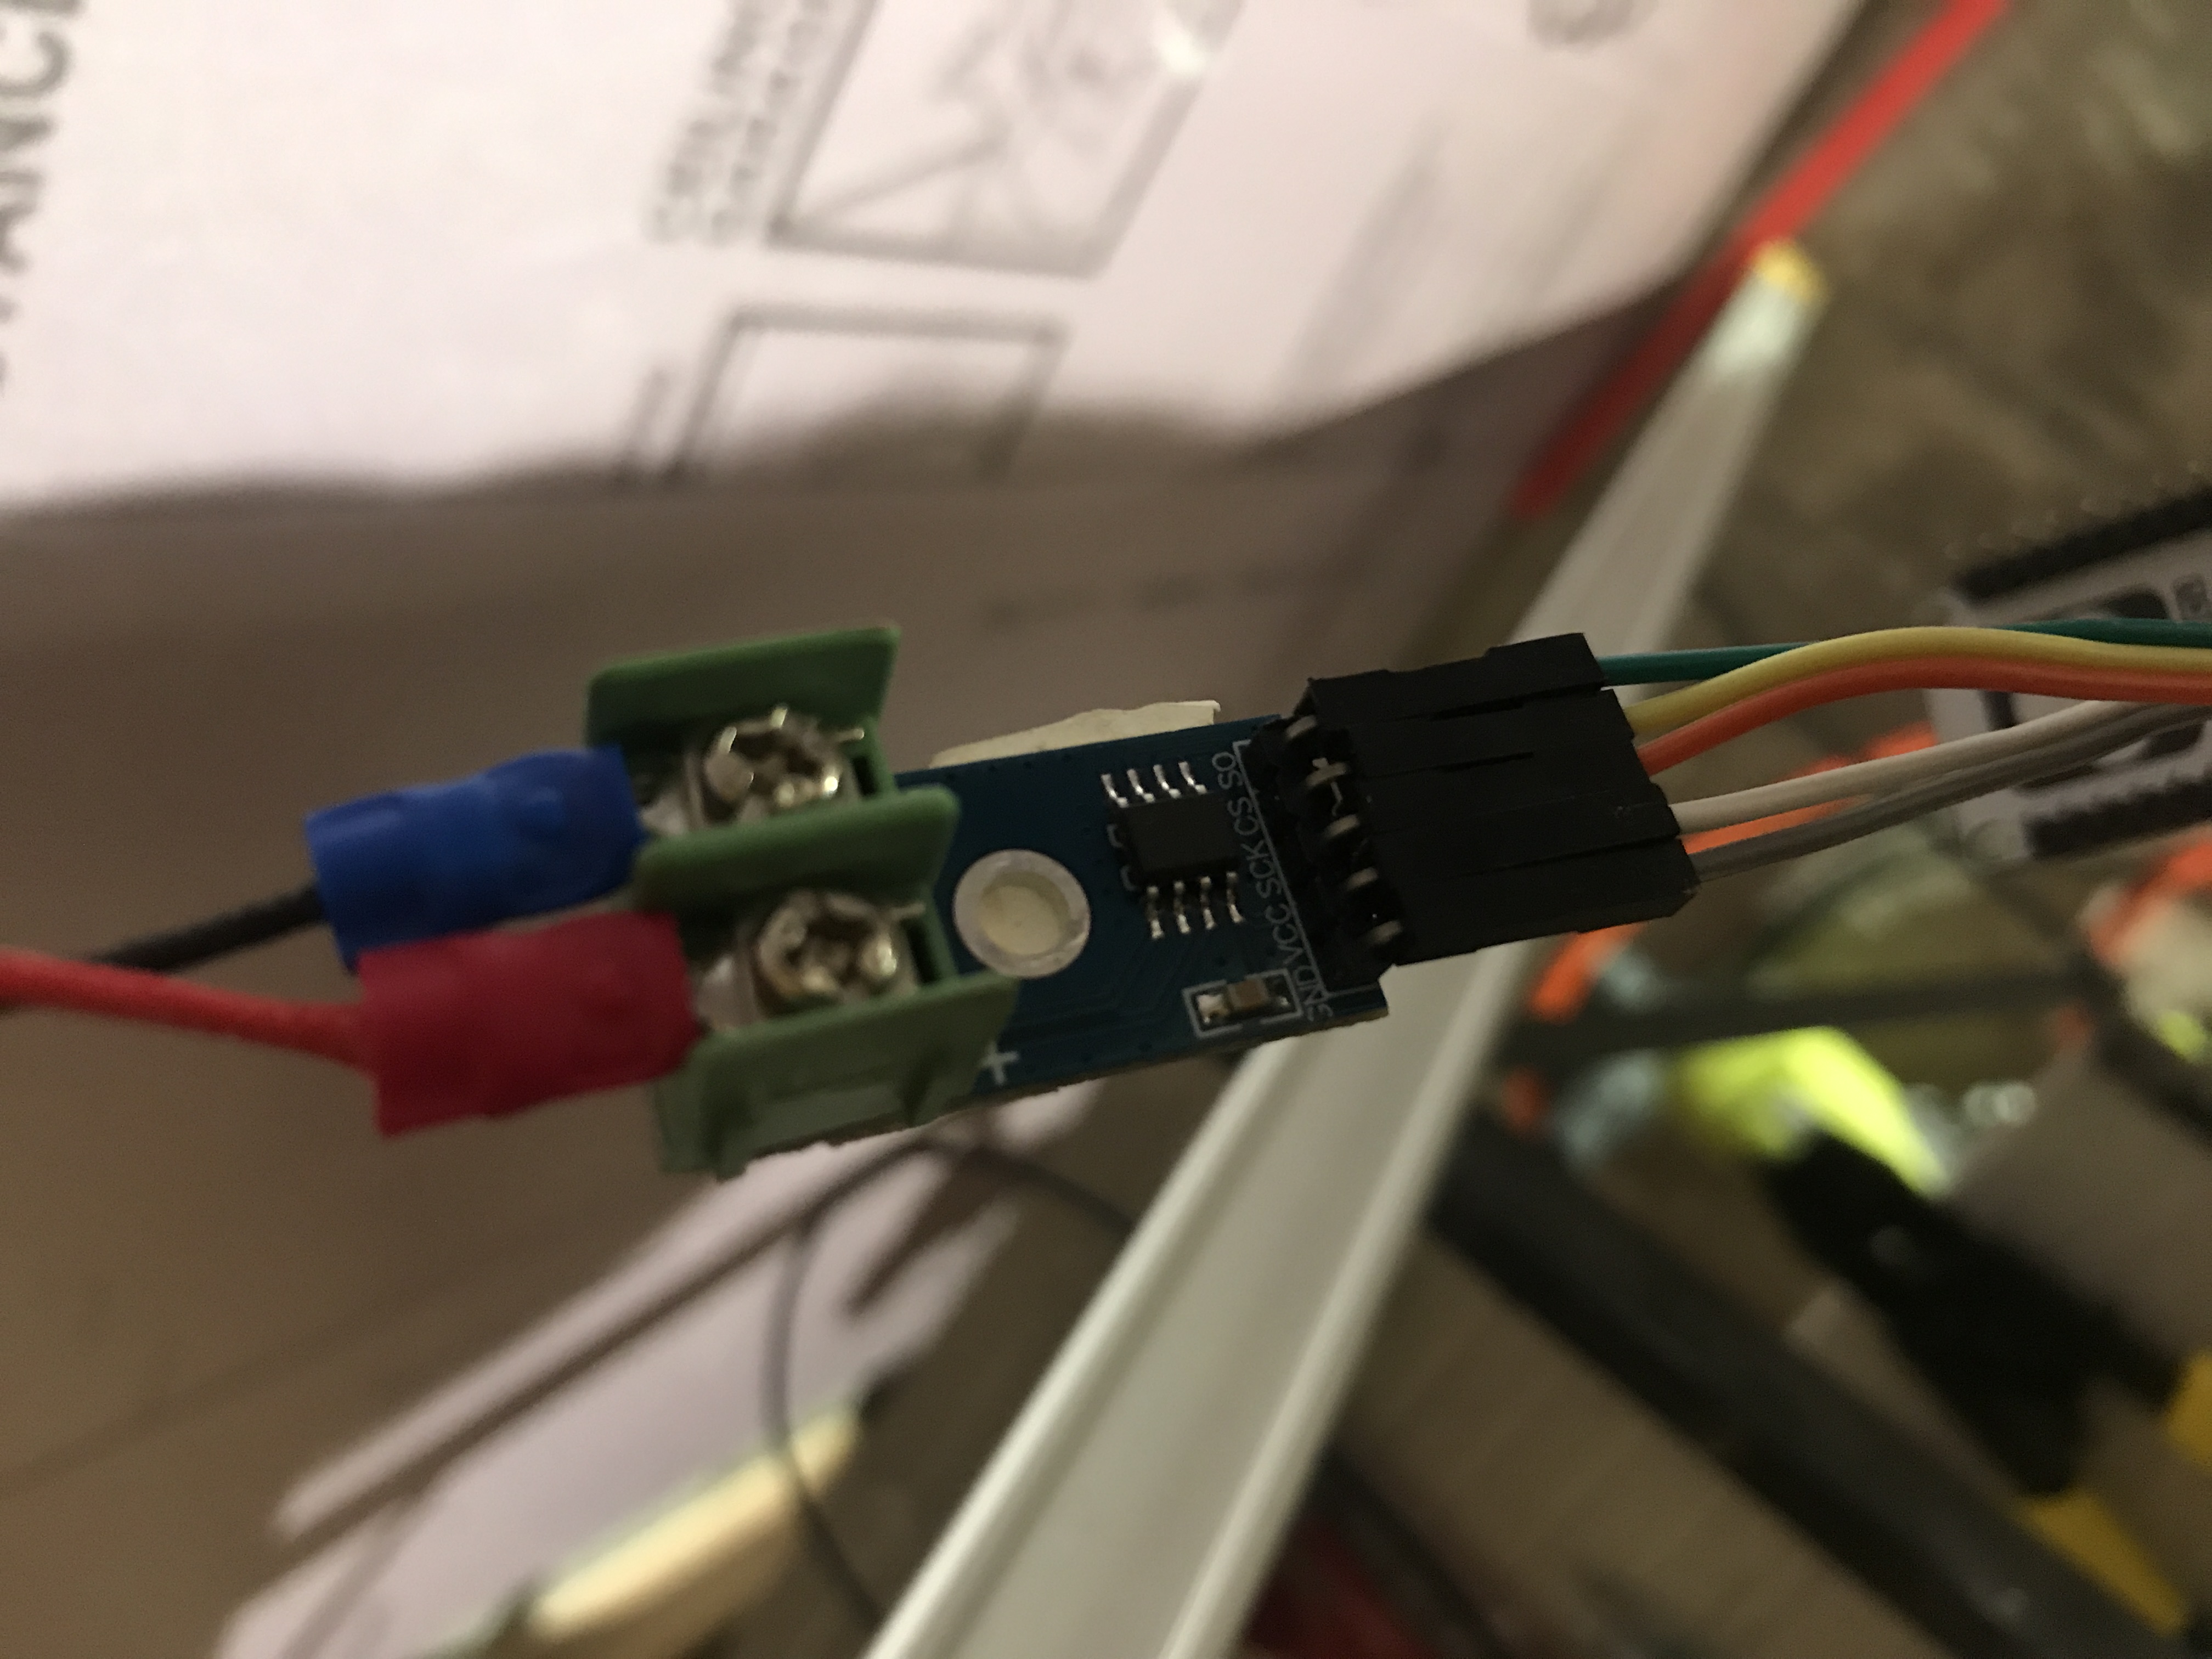
The hardware involved in measuring the tempearature consists of a single Thermocouple (Type K in this case) connected to a NodeMCU via 5 wires through a MAX6675 Type Thermocouple Sensor Module, powered by a 5V power supply.
Thermocouple
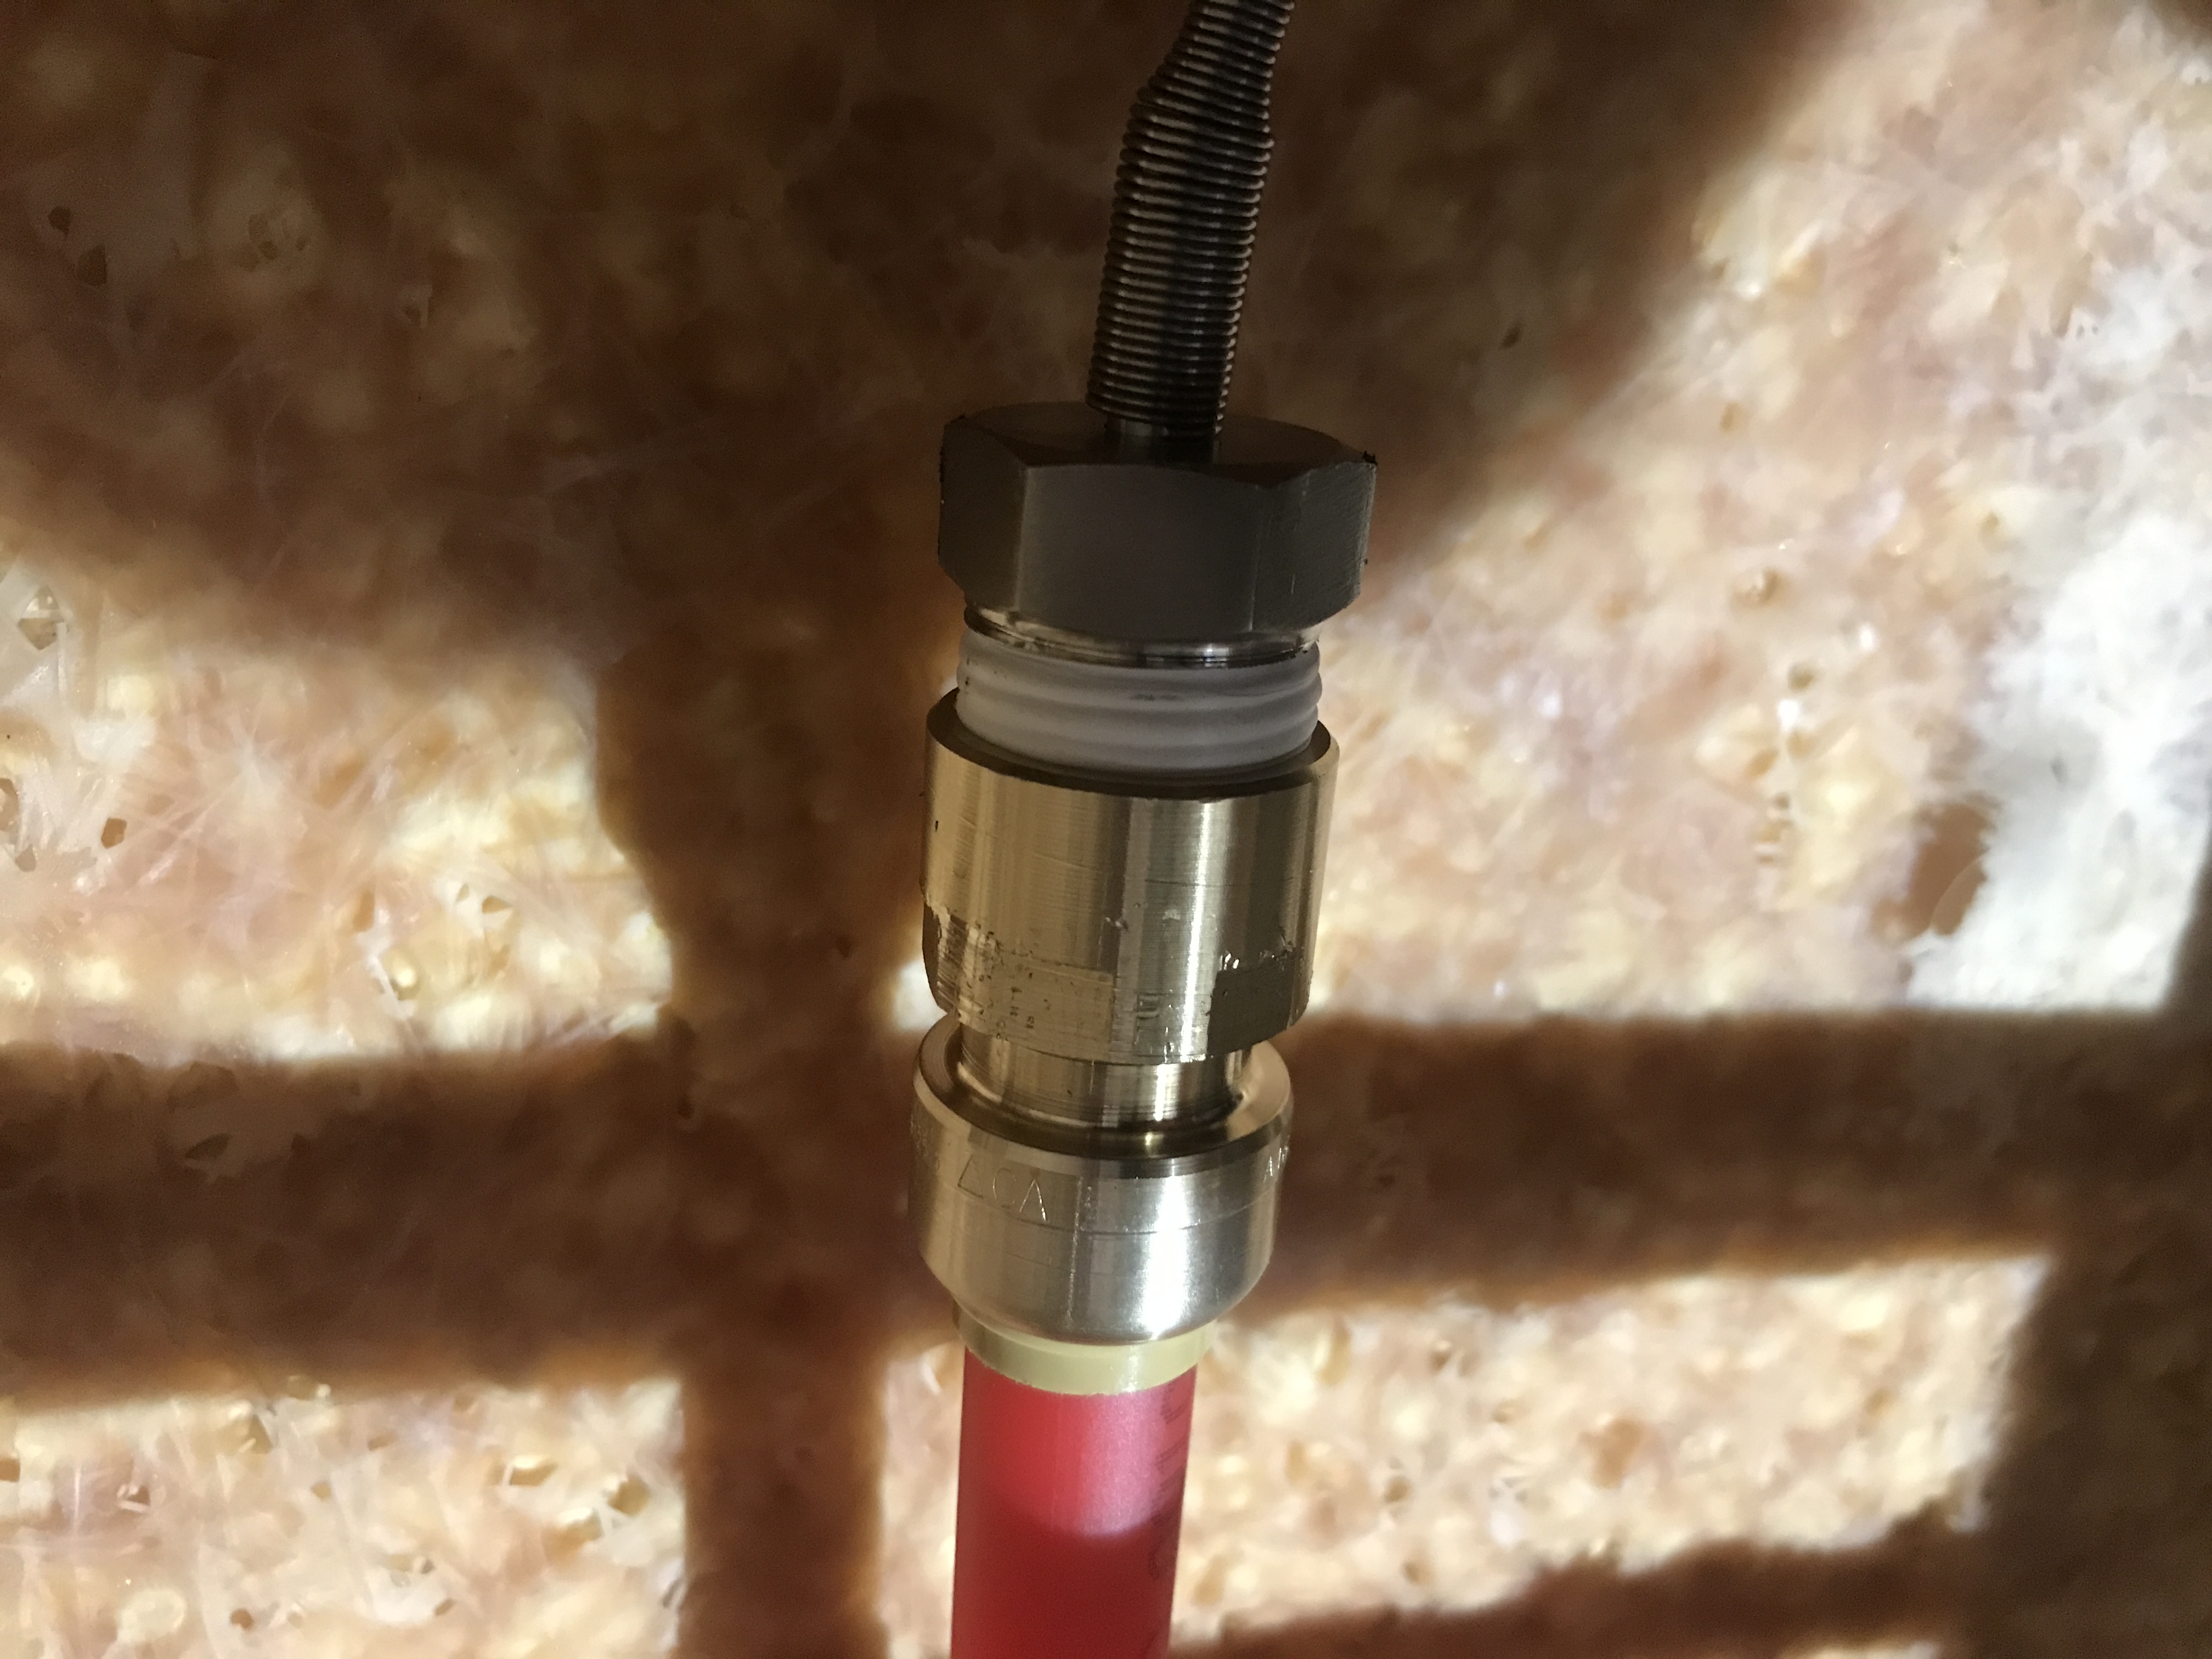
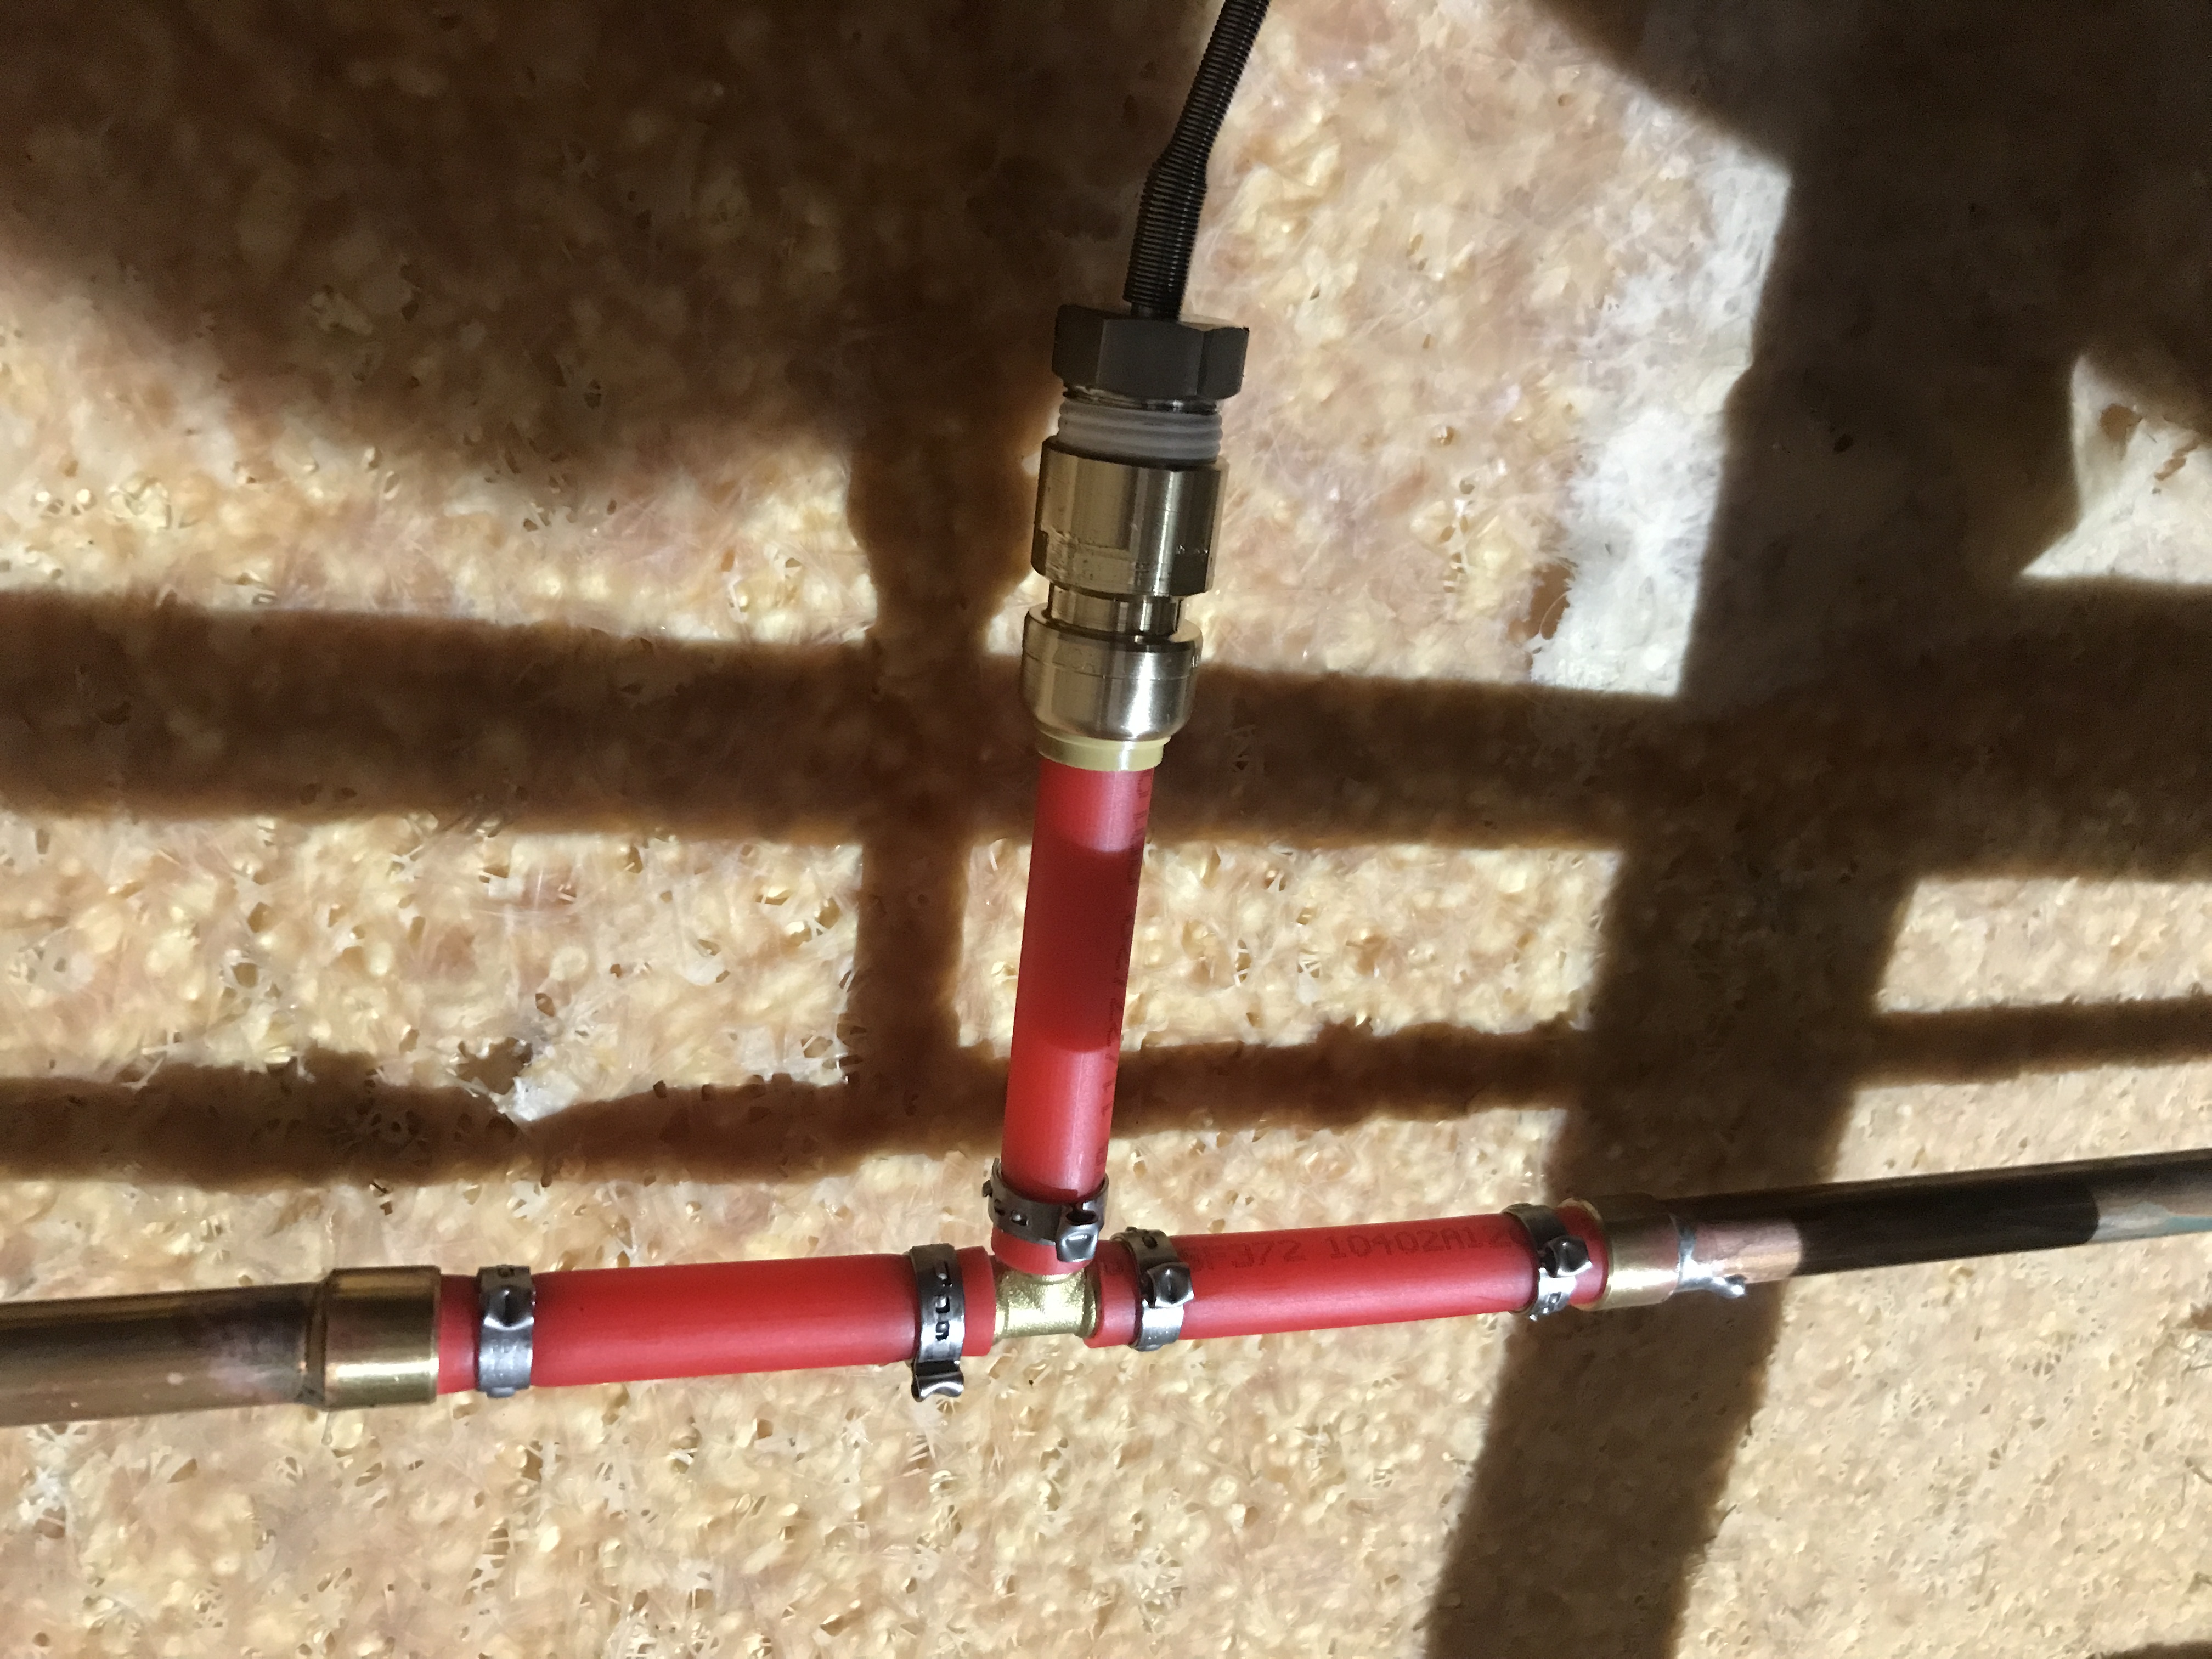
The thermocouple that I purchased is a simple 1/2" thread that connects directly to a tee fitting on the leg of the shower that exits the main mix valve and goes directly to the shower head.
The thermocouple comes with the wire and connectors,
I used a Sharkbite 1/2" to female 1/2" threaded connector for the tee, and standard 1/2" Pex with crimp rings for the rest of the assembly. You'll notice I had to sweat the Pex adapters to the original vertical pipe. Again, this is temporary, and I have access to this because I'm remodeling.
Thermocouple Sensor
Gotta have this, or similar. MAX6675 Type Thermocouple Sensor Module
NodeMCU
I believe I've posted about this before, you can look it up.
Connections
The connections are simple. Ground, VCC (5V), and then 3 pins on the NodeMCU for the data. I chose D5, D6, and D7 and then configured my ESPHome entry to accomodate.
ESPHome Settings
In the ESPHome add-on in Home Assistant, add a new item of type "NodeMCU". Here's the configuration file for my device:
esphome:
  name: thermocoupler1
  platform: ESP8266
  board: nodemcuv2

# Enable logging
logger:

# Enable Home Assistant API
api:

ota:
  password: "********************************"

wifi:
  ssid: "GriffithIoT"
  password: "********************"

  # Enable fallback hotspot (captive portal) in case wifi connection fails
  ap:
    ssid: "Thermocoupler1 Fallback Hotspot"
    password: "************"

captive_portal:

spi:
  miso_pin: D7
  clk_pin: D5

sensor:
  - platform: max6675
    name: "Thermocoupler 1"
    cs_pin: D6
    update_interval: 1s
Download the Binary file compiled by ESPHome and flash your device using the latest ESPHome flashing app.
When it reboots, it should be attached to your network and you can add the ESPHome device through the Integrations by entering the NodeMCU's IP Address at the ESPHome integration prompt.
Now you'll have a sensor that reads the temperature of the Thermocouple.
Go. Stick it somewhere. Anywhere. (Careful...not there.)